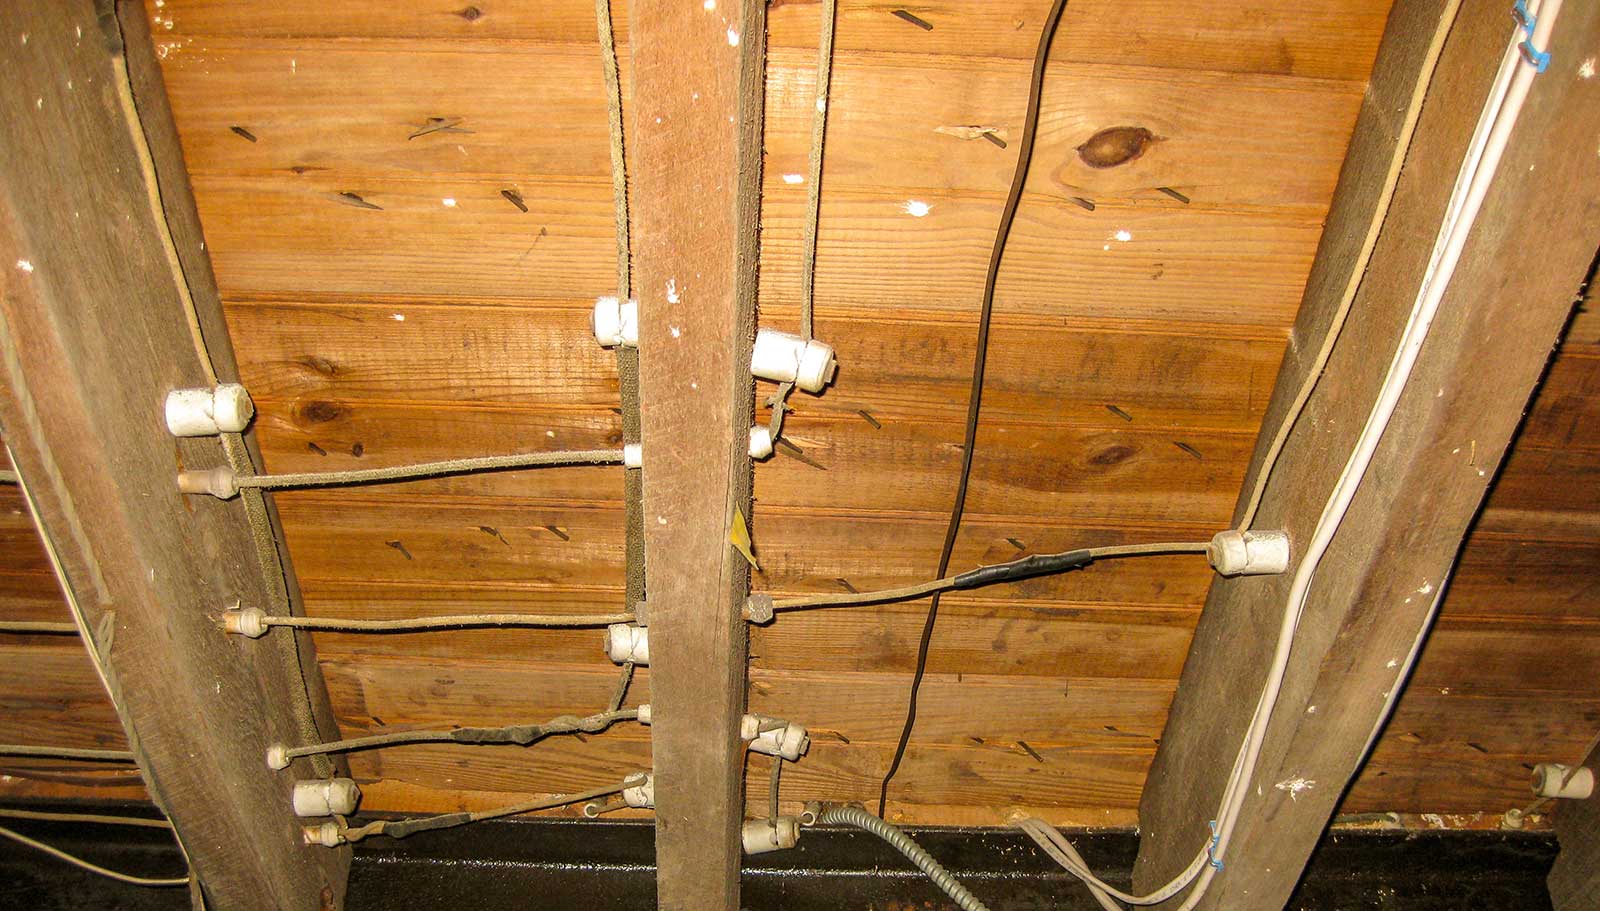
How is the basement wiring installation?
The basement wiring installation is essential to finish the project to get suitable. It is a big project, and the outcome of finishing your basement will depend on it. But if you commit to wiring your basement yourself, you’ll be rewarded with a completed project that requires creativity and ingenuity.
But working with electricity is challenging and requires expertise and knowledge. A slight mistake can set your whole house on fire and endanger your family. Therefore, entrust the wiring of your basement to the experienced experts of KCS Group and use your basement with peace of mind.
Basics of basement wiring installation
The basement sub-panel
First of all, you will need electricity in the basement. The first step is to decide where to supply this electricity. You may have an existing subpanel somewhere in your home. You can get the power you need from that sub-panel or install a new sub-panel. Here are some questions I would like to ask you about the existing subpanel:
- Are there enough empty slots for all the power you need in the basement?
- Can you run the wires from under the existing panel to the basement, or will it be too difficult?
If both questions answer yes, you should be confident in your existing sub-panel. But if the answer is no, you must install a new basement sub-panel. I will explain the reasons for installing the new sub-panel in the following.
Advantages of basement sub-panels
- You can quickly bring your electricity to the basement sub-panel
- It is possible to turn on and off the electricity of the entire basement by hitting the breaker under the main panel
- The existing sub-panel is placed outside the house, and you have to pull the wires outside the house through the conduit, which could be better.
- Finally, you may not have enough free slots in your existing sub-panel, and you have to install a new one
Uneven basement wiring installation
There’s a lot to understand regarding wiring, and you’ll be overwhelmed when you finally start thinking about the project. Once you know the wiring basics, it becomes more of a creative project than anything else. You have to decide where you might want sconces. Do you want a fan in this room, and do you want a dimmer? It becomes a straightforward task, forcing you to make more funny decisions.
Of course, doing all these projects requires skill and knowledge. For this reason, it is better to save time and money and contact the expert consultants of KCS.

Electric performances
I’ve mentioned “runs” electricity a few times in this post. The definition of the electric house is as follows:
“…a wiring not branched off from another circuit or wiring, but is connected directly to the building’s main switchboard.”
It is a starting point for understanding what is needed to wire your basement. Once you can understand how a run works. For example, there may be six electrical loads in the basement. These six performances are as follows:
- Outlets and lights in the room
- Corridor plug and light and storage room plug and light
- Bathroom plug, lights, and exhaust fan
- Outlets and lights in the bedroom
- Media Bay (AV equipment(
- Sockets and kitchen lights
You may be required by code to put your bathroom on a dedicated track, as the bathroom requires a GFCI outlet or ground fault indicator. It is the plug with the green LED on it. It’s also best practice to use #12 gauge (20 amp) wires for the pin, so let’s talk about wiring gauges and what they mean.
Wiring gauges
In the basement wiring installation, you can use two different wiring gauges, #12 and #14, which give 20 and 15 amps, respectively. The smaller the gauge, the larger the wire, so more amps can flow through your power cable. Inspectors like to see the #12 wire used for the plug because it can handle a more significant load and is less likely to trip your breaker or cause problems.
Another critical thing about wiring gauges is that it is against the code to change the gauge mid-job. For example, the electrician wired the plugs in the bedroom with #12 gauge wire. Then move from one of the plugs to the light switch. Since the #14 gauge wire is thinner and easier to work with, why not just use #14 to pull up the switch? It is considered an error, and your inspector will not approve it.
In short, if you want to run with #14 gauge wiring, stick to your lights, and you’re good to go.
Uneven wiring steps
- Know and follow basic electrical and wiring code principles
- Determine the proper location of boxes and keys and measure it
- Disconnect the wires and route them to the boxes
Wiring switches, plugs and lights
Switches and plugs make up one part of your basement’s electrical currents, while lights make up the other. There comes the point when you realize you can’t run the wires into the nearest outlet box or light. It would be best to think about what needs constant power (outlets) and what needs to be controlled via a switch (lights, fans, switch outlets). If your basement has an electrical setup with a plug, switch, and light, you should start the run with your plug and then move to the switch and light.
Of course, remember that if you face any situation in basement wiring installation, you can get help from KCS experts. Feel free to contact us.


